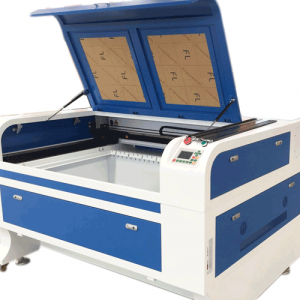
Laser cutting head is an important part of laser cutters, most users must consult the relevant parameters and installation instructions of the supplier in advance when upgrading or replacing the laser cutting head.
We will briefly elaborate on the following aspects in the hope that we can help you.
Tips for Installation
1. The laser machine should be placed horizontally on the table and should not be tilted.
2. The laser machine should prevent strong vibration, and the cart and trolley should be fixed when moving, so as to prevent the optical path offset or laser crack caused by vibration.
3. The exhaust duct should be connected to the outdoor place where there is no influence, keep good ventilation, and wipe the dust in the fan and machine smoke pipe frequently.
4. There is a high voltage inside the laser machine, and non-professional and technical personnel shall not open the shell for maintenance to prevent electric shock.
5. If the laser machine is used for the first time or moves the position, pay attention to check whether the high-voltage wire falls off or not, in order to prevent electric shock.
6. The exhaust fan and cooling water pump of laser machine are AC220V/50HZ power supply.
7. The ground wire of the machine must be well-grounded.
8. When the laser machine is working, we must strictly prevent the staff or other personnel from reaching out their hands or watching with their eyes, so as to prevent the laser from injuring people or their eyes. It is best to buckle the lid to death.
9. Please avoid entering water inside the equipment or the working environment is too wet.
The machine should be placed in a dry and ventilated place.
10. It is strictly forbidden to disassemble all kinds of connectors with electricity.
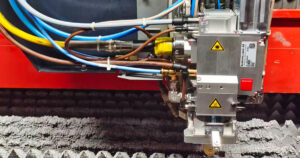
11. The inner lens of the engraving machine should be cleaned with anhydrous ethanol or acetone in time and should be rubbed gently, and the light path should be adjusted after rubbing.
12. when in use, ensure that the cooling water circulation is good, and the water quality is clean. if the yellowing water quality is dirty, the water should be changed in time, so as not to cause the laser tube to be cold but not good and lead to cracking.
13. Pay attention to prevent the cooling water from freezing, and the cold weather in the north should pay special attention to the laser damage caused by the automobile antifreeze in winter, the temperature is too high, the scale or dirt is blocked by mechanical impact, and so on.
14. Pay attention to prevent the corrosion and damage of the internal parts of the chassis due to excessive smoke, dust, moisture, and other reasons.
Therefore, it is necessary to clean the machine after each workpiece, keep the machine clean, and wipe it frequently.

Instructions for the installation
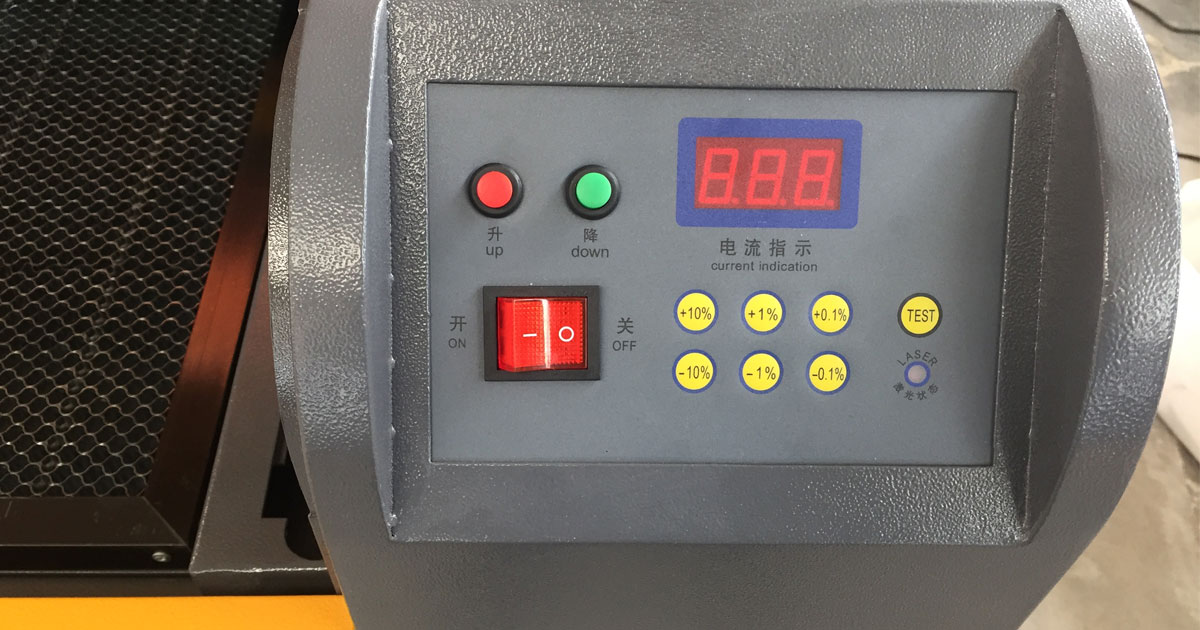
1. Operator panel description.
Power switch: used to turn on or off the laser engraving machine.
Current indication: used to indicate the current of the engraving machine.
Current regulation: use this potentiometer to adjust the current during carving according to the current indication.
Lighting switch: used to turn on or off the lights inside the laser engraving machine (some machines do not have this switch).
Laser switch: used to control whether the laser glows or not, this switch is turned on when carving the seal (that is, press).
Test switch: the laser glows when this switch is pressed, and the potentiometer is used to adjust the current when carving according to the data displayed by the ammeter.
This switch is only used to debug the machine and check the current when carving. It needs to be disconnected when the machine is working properly, and the computer will automatically control the engraving.
2. When in use, start the cooling water pump first, and then start the laser engraving machine, and ensure the circulation of cooling water.
3. Start the engraving system typesetting software, design the image to be carved, set the engraving position, (see the software manual for specific steps) fix the engraving chapter material to the fixture, so that the material plane and the fixture plane are on the same plane, then carve the output.
4. The current should be adjusted according to different materials and process requirements.
There is no laser out, how to do?
All our inspections or tests have a major premise: the high and low voltage electrodes of the laser tube are connected completely and the connection is good.
Next, let’s analyze it step by step:
First, check whether the laser spot can be made at the mirror frame.
Use dimming paper to paste three layers repeatedly to block the lens of the frame, and then press the tap on the control panel.
A. if there is a laser burning spot on the dimming paper, it can be concluded that there is something wrong with the laser path, and you need to refer to the tutorial of adjusting the laser path.
B, if there is no laser burning spot on the dimming paper, but there is a beam produced by naked eye observation inside the laser tube, generally speaking, the laser tube is broken.
Note: when installing the laser tube, remember that the end closest to the lens frame is the low-voltage end.
C. if there is no light spot on the dimming paper, and there is no beam inside the laser tube, please refer to the second.
Second, if there is no beam in the laser tube, we should check laser switch, potentiometer, ammeter.
1. First of all, make sure that the laser control switch is on.
2. The potentiometer rotates clockwise to turn on.
3. Observe the indication of the ammeter.
If the ammeter pointer indicates, we can generally conclude that the laser tube is broken.
If the ammeter pointer is not indicated, we will continue to check:
A. observe the power display on the control panel, if the power value is less than 10%, then adjust the minimum power to 50%, and then repeatedly observe whether the ammeter indicates and whether there is a laser in the laser tube and mirror frame.
B. if the power value on the control panel indicates that it is not less than 50%, there are two situations:
First, the laser power signal cable on the motherboard and the terminal on the laser power supply may become loose or fall off, so that the laser power supply can not receive the luminous signal transmitted on the motherboard.
Second, the laser power supply is damaged.
It is difficult to judge. We need to check other inspection items that do not involve ammeters and potentiometers one by one, rule out other reasons, and then press the spot on the control panel several times. Then use low-voltage wire or ground wire to contact the high-voltage joint on the laser tube, if there is a spark, it can be judged as laser tube damage, if there is no spark, it can be judged as laser power damage