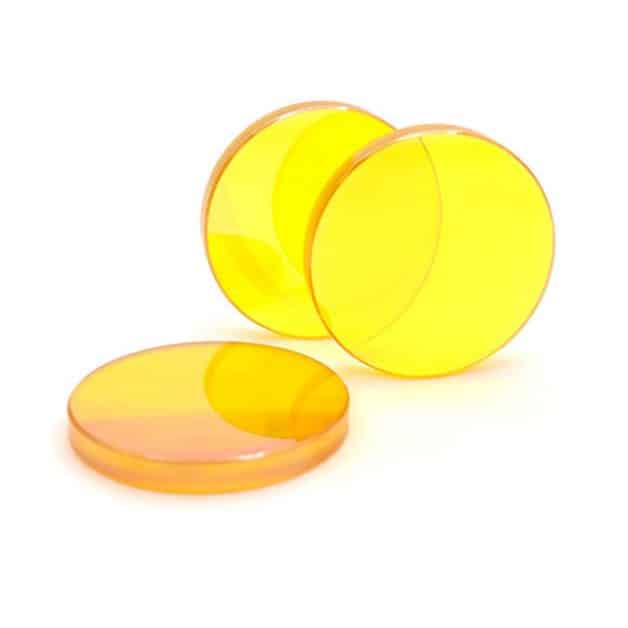
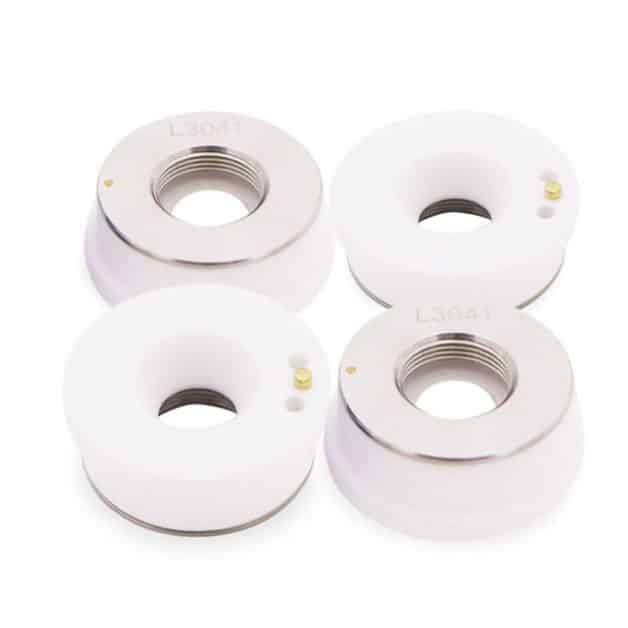
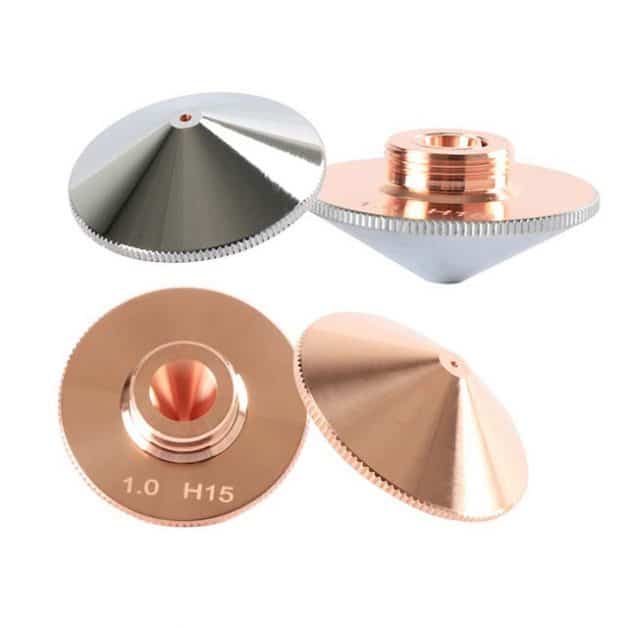
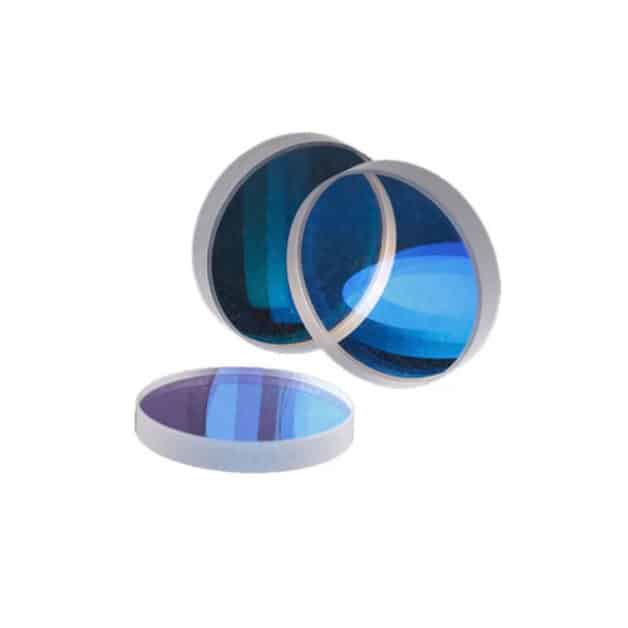
Products & solutions for laser professionals
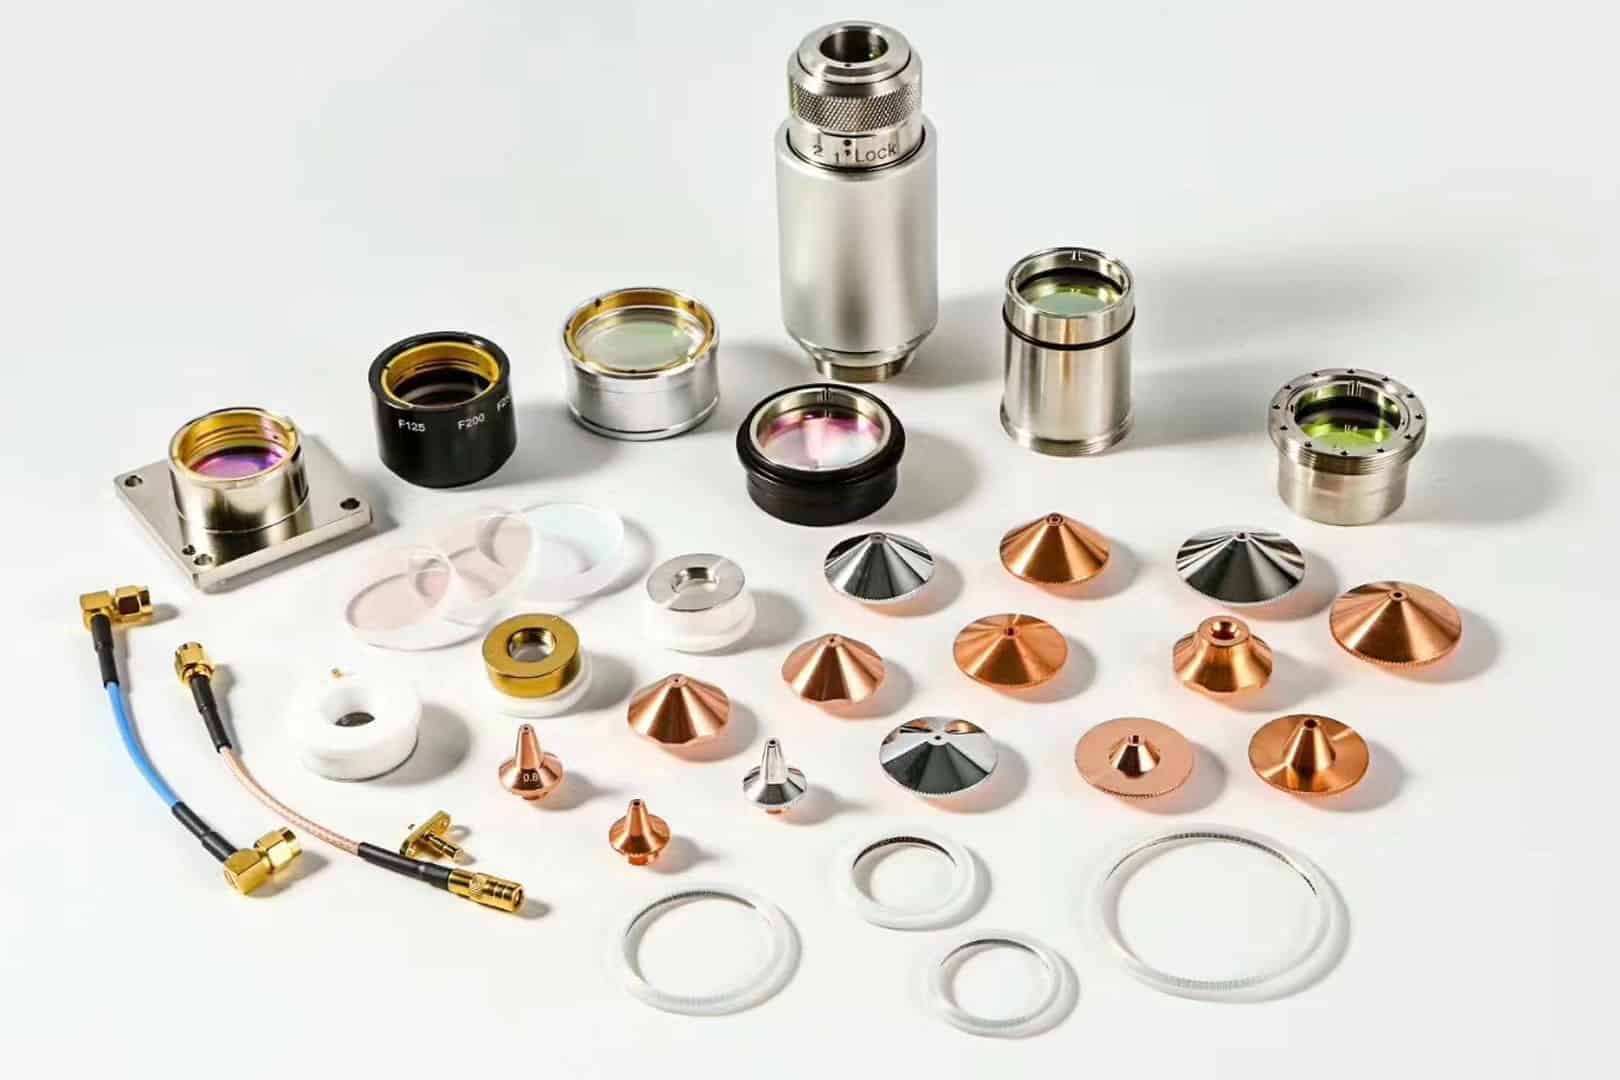
We supply laser comsumables& spare parts to many of the world’s laser machine manufacturers and have a dedicated team of 5 overseas engineers to provide machine maintenance and upgrades to our customers with a lead time of less than 7 days.
Product Categories
SERVICES
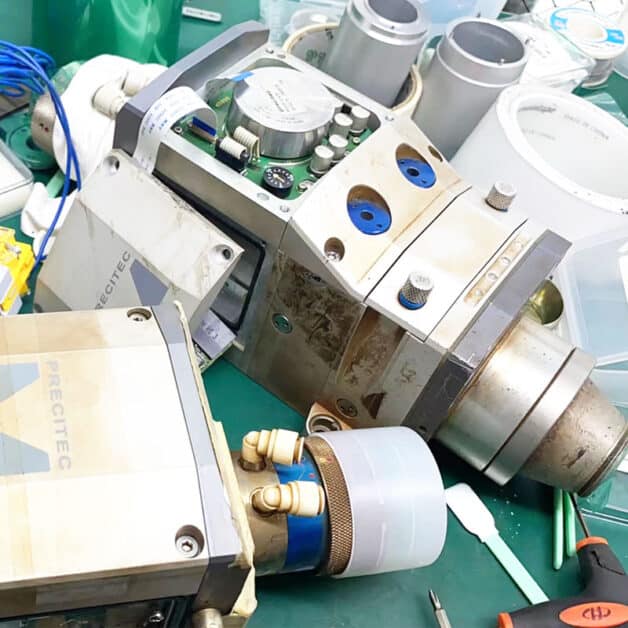
Laser Cutting Head Maintaining
We have more than 10 years of experience in laser machine maintenance in China and offer a number of maintenance services including laser cutting head maintenance, which can significantly extend the use of your laser machines and make it more valuable to you.Guaranteed best pricing on the highest quality aftermarket parts for your machine
CO2 Laser Upgrade to Fiber Laser
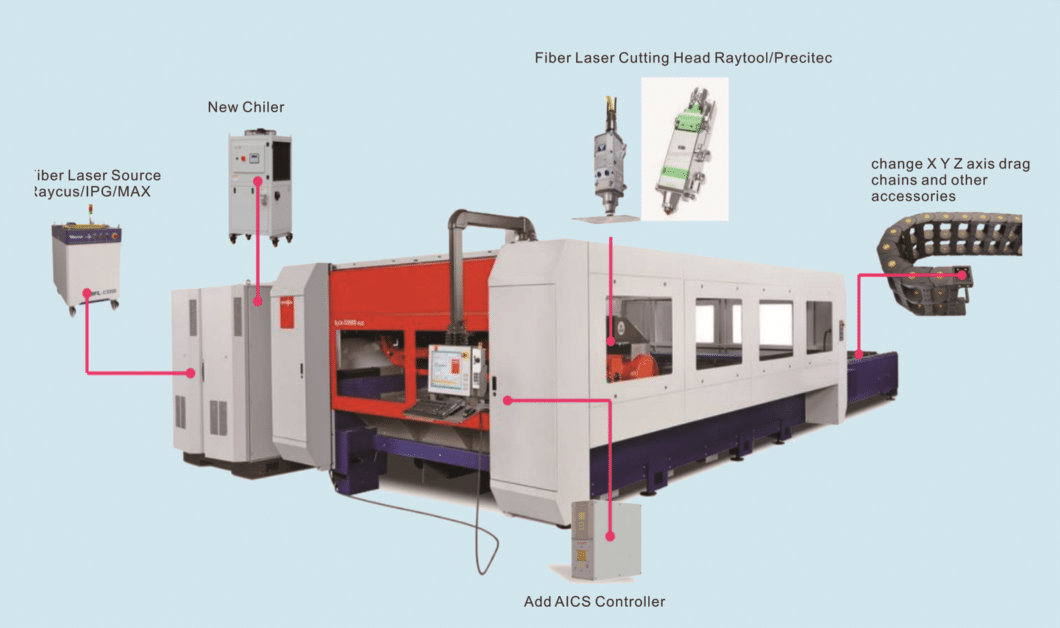
We supply upgrade solution for Bystronic, Amada …CO2 laser cutting to fiber laser cutting. This service can significantly reduce your production costs by providing benefits including, but not limited to, longer service life, higher cutting speed, reduced energy consumption, maintenance cost savings, and more.
BRANDS WE HAVE SERVED
ADVANTAGES
We recognize the importance of minimizing line downtime. Our prompt and efficient repair services are designed to get your laser equipment back up and running quickly, ensuring uninterrupted operation.
As a distributor of laser parts from leading brands, we offer genuine, quality replacement parts that meet the manufacturer's specifications. Our comprehensive inventory ensures fast delivery, allowing us to have the parts you need when you need them.
At Wewin Laser, customer satisfaction is our top priority. Our dedicated support team can assist you with any questions, technical issues, or guidance. We value our relationship with you and are committed to exceptional customer service.
In today's competitive marketplace, we understand the importance of cost-effectiveness. Our services, repairs, and spare parts are competitively priced without compromising quality, ensuring you get value for your investment.
Wewin Laser
We are WEWINLASER, a company dedicated to fully showcasing China’s laser technology to the world.
More than 10 years of experience in machine maintenance and upgrading in the Chinese market allows our team of experts to provide you with professional “laser machines solutions” to realize all your laser processing-related ideas and projects.
With our professional product development department, we have developed more than 1,000 kinds of laser consumables and more than 50 kinds of OEM spare parts according to the requirements of different brands, occupying more than 30% of the market share in China.
A team of engineers with more than 5 years of practical experience in equipment will provide you with 7*24 hours of service. We will be your best partner for the laser cutting machine.
COOPERATION PROCESS
Business Negotiation
We will have a comprehensive understanding of the customer’s needs before the order.
Specifications
The customer provides design drawings or substitutes parameters
Trade Clause
According to the actual situation of each customer, we will choose the best way of trade clause.
Sign A Contract
We will arrange the goods immediately on the day of reconfirmation of the contract.
Rapid Delivery
There is no delay. DHL UPS TNT FEDEX comes to collect goods every day.
After-sale Service
Professional after-sales team is responsible for tracking and usage of goods.

What Our Clients Say
News & Blog
SSC V1 Cutting Head Upgrade V2.2 HLC8 Kit 10198556
If your BySmart Fiber (GPL ll) machines with SSC V1 cutting head is not working anymore here are 2 options for your reference: • SSC
Air compressor maintenance
An air compressor is a commonly used compressor equipment that compresses air into high-pressure gas. To ensure the normal operation and service life of the

How Did China’s Laser Industry
After years of development, the continuous improvement and wide application of China’s laser technology industry chain have provided more opportunities and choices for various industries.

